Thursday, June 13, 2013

Sunburst tutorial

I'm a member of a scrapbooking group on yahoo called Scrappin-N-Chattin. Each month we have layout challenges and one of this month's challenges is to use sunbursts.  After discovering that several of my friends didn't know how to make one I decided to do this tutorial.

I started with three coordinating papers from the DCWV Summer Dream stack.


Turn all three sheets face down.


I marked where I wanted the photo and embellies to go on the top sheet.


Then draw lines on the top sheet to make the sunburst. I can make the rays as wide or narrow as I want, as many or few as I want. This example is 9 pieces.
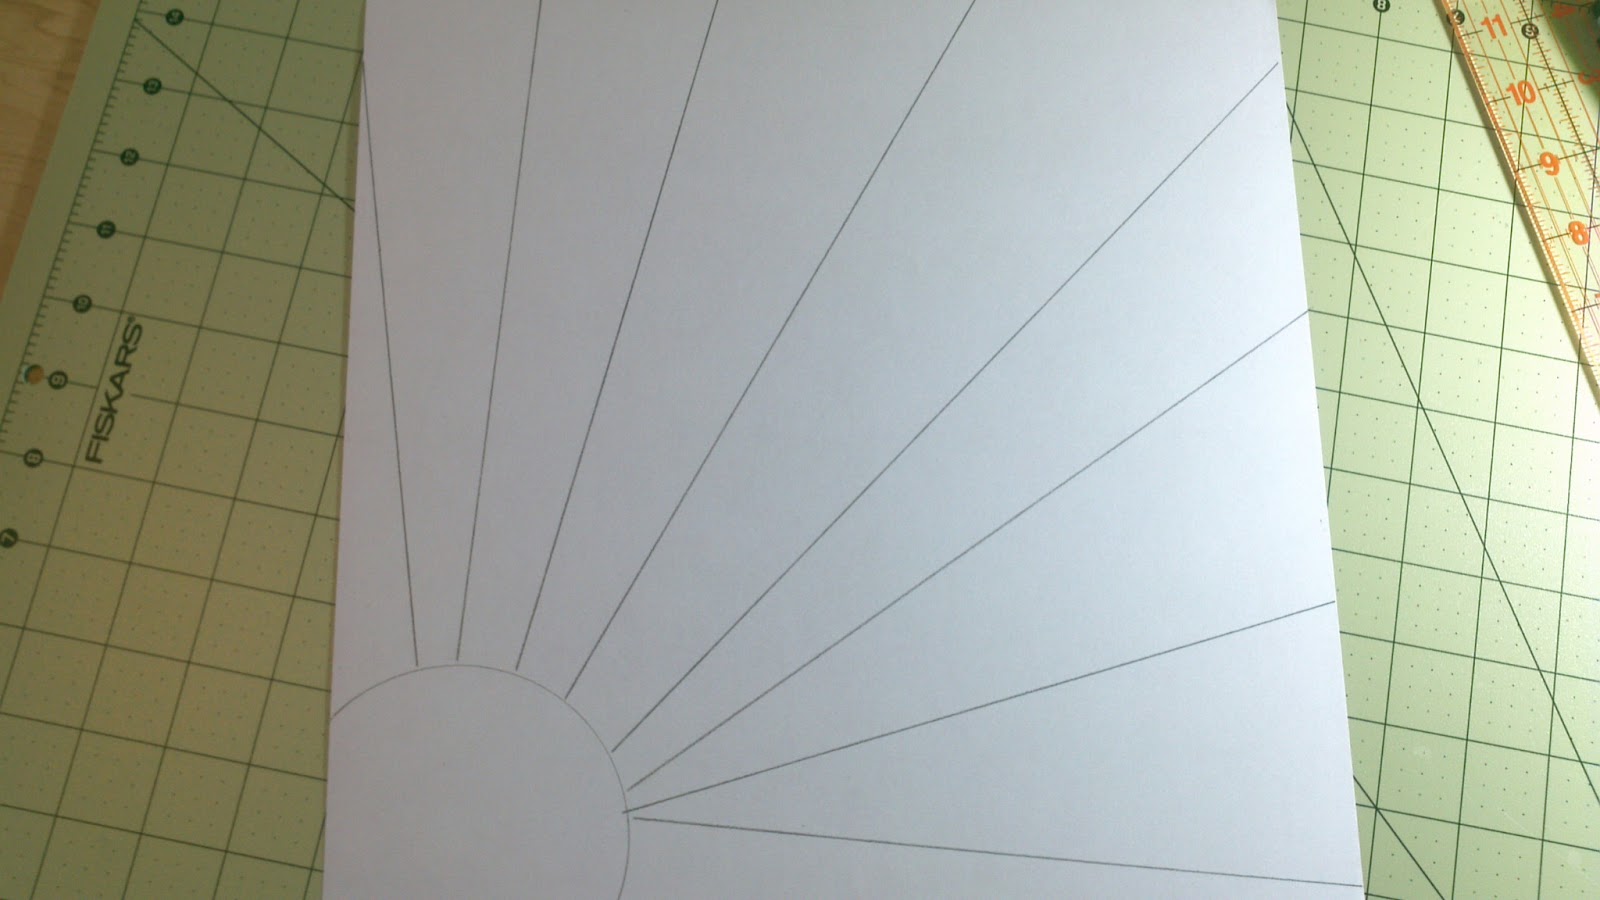


Now number each ray.


Holding the sheets together cut one of the rays and add the same number to the pieces.


Once you have all the pieces cut and numbered you can begin to make the sunburst. Below are one each of pieces 5, 4 and 3.


I used three pieces of each color, starting with number 1 on the bottom edge.  This put the photo on the left. I would start with number 1 on the right edge to have the photo on the right. (Or simply turn the page once everything is glued down.)


To make a two color sunburst I can use the even numbered pieces on a sheet of cardstock.


Or the odd numbered pieces on a sheet of cardstock.


Or the even numbered pieces of one color and the odd numbered pieces of another color.


For a three color look with only two colors of paper, I can overlap the rays a little to let a strip of the cardstock show.


I used 14 pieces of one color for this layout (evens only) and this layout (odds only). 

The possibilities are endless with as few colors or as many as I wish, full sheet sunburst or partial sheet. If you make a sunburst please leave a link in the comments so I can visit.


Monday, June 10, 2013

Grad


Isn't the week 2 sketch from Let's Get Sketchy perfect for the multiple pictures from my grandson's kindergarten graduation?  I followed the sketch pretty close with just the addition of some buttons. I'll be saving this sketch to use again.


I

Happy Next Level


I used the sketch from Stuck?! for this layout of my grandson's birthday. He likes to play video games so instead of a birthday card I gave him a "Happy Next Level" card. I wanted to make the title totally in red but I didn't have an "x". Seriously, who has enough "e"s and no "x"? Weird. 


Thursday, June 6, 2013

Nick's 19


Used the sketch from Sketch-n-scrap for this four picture layout of my oldest grandson's birthday. Couldn't fit as many embellies on since the photos couldn't crop any smaller.


Wednesday, June 5, 2013

Chalk Artist


The challenge at Scrap It Girl is die cuts. I used six - three stars, two gears and a gingerbread man for good measure. I have trouble embellishing boy layouts and it seemed a good fit.

Dancing, dancing...


The challenge at Scrap Your Story is to use song lyrics. I used "dancing, dancing, dance the night away" as part of the journaling. I used pink and black for my colors as those were the colors Charlie wore (right foreground).

Tuesday, June 4, 2013

Life is Good


My grandson's enjoyment of his lunch lead to the title Life is Good. I used Sketch #5 from the Paper Bakery, the "use stripes" challenge from Red Carpet Studio and the anything goes challenge from Use It Tuesday. The striped paper is from an older DCVW stack called Trade Winds. I'm really trying to use up the zillion sheets of patterned paper that I have so I can actually buy some new patterns someday (maybe 2016.)

(

I planned on journaling on the blue background so grabbed a white pen. Then I wrote on the green instead but didn't change the color of ink.


Isn't this a fab sketch?